
Installing an irrigation system for our flowerbeds has been our top #diygarden priority this summer. We explored several irrigation systems, and we finally decided to give a soaker hose irrigation system a try. This system is great for people who are inconsistent with watering their flowerbeds (like us), the added bonus is this setup is super inexpensive and SO easy for a DIY installation.
An expert gardener once told me you must know yourself before you know how to garden. So wise and so true! We are far from being gardening experts. Even though we downsized our yard, life has been so busy for us that we knew a DIY irrigation system would be necessary to help us with upkeep. And who doesn’t love a beautiful, lush flowerbed?
Tips for Installing a DIY Irrigation System
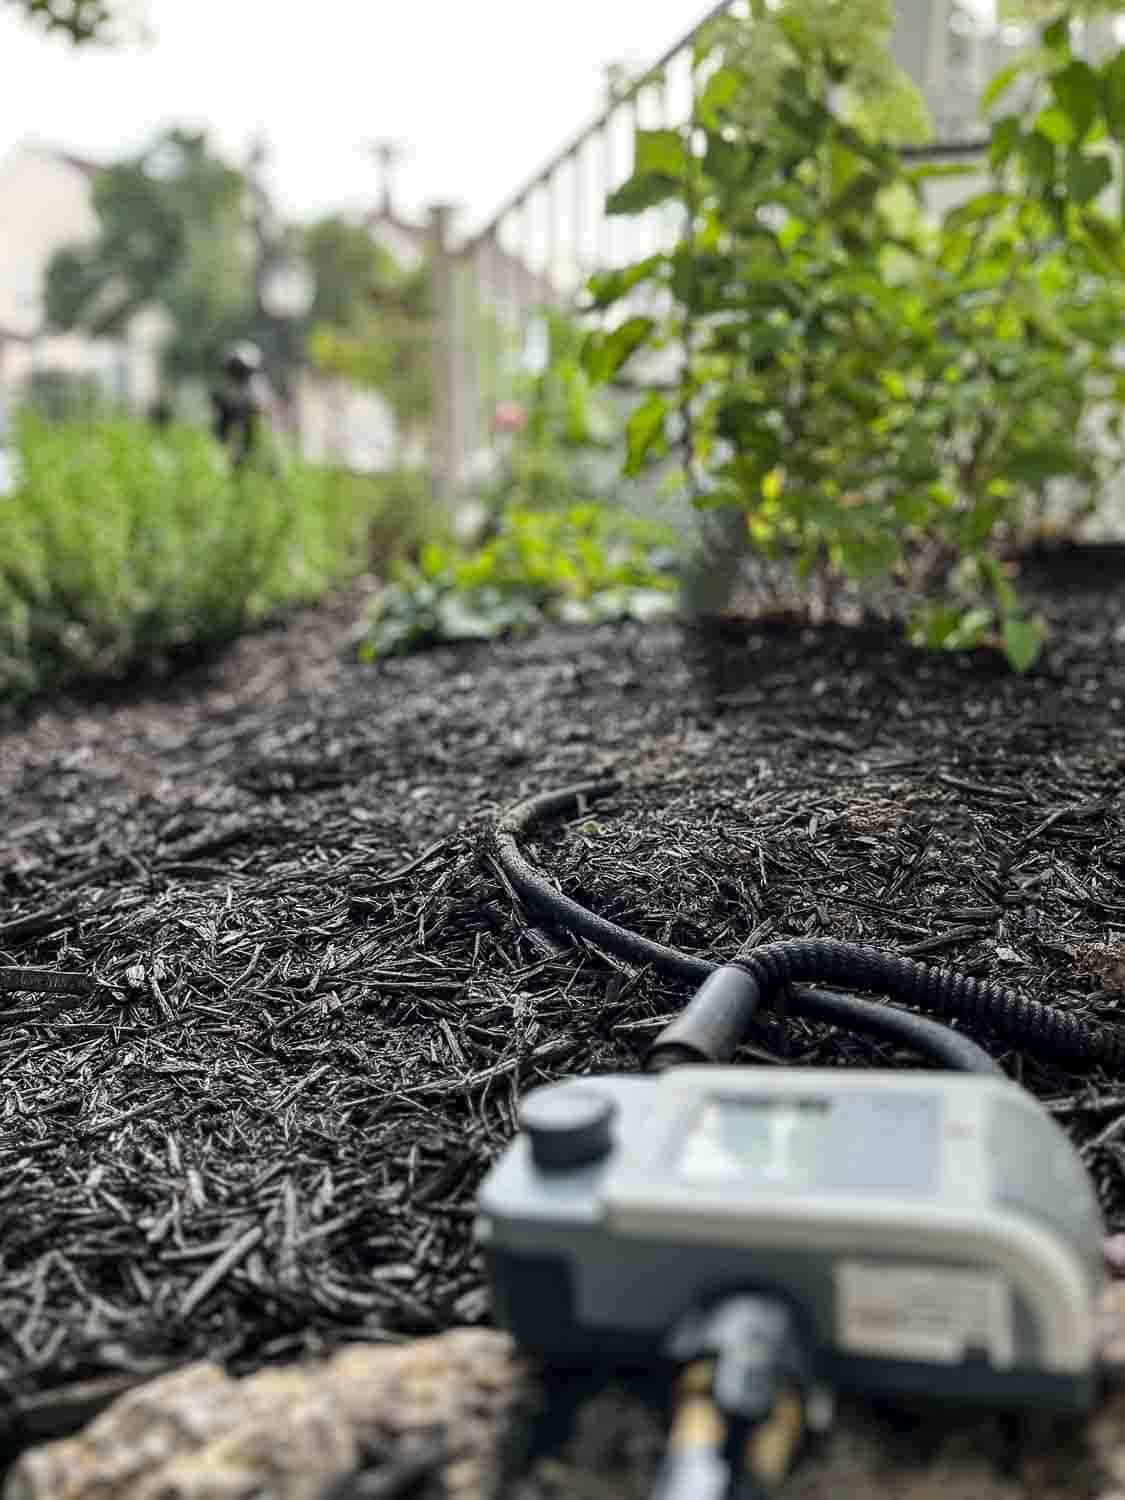
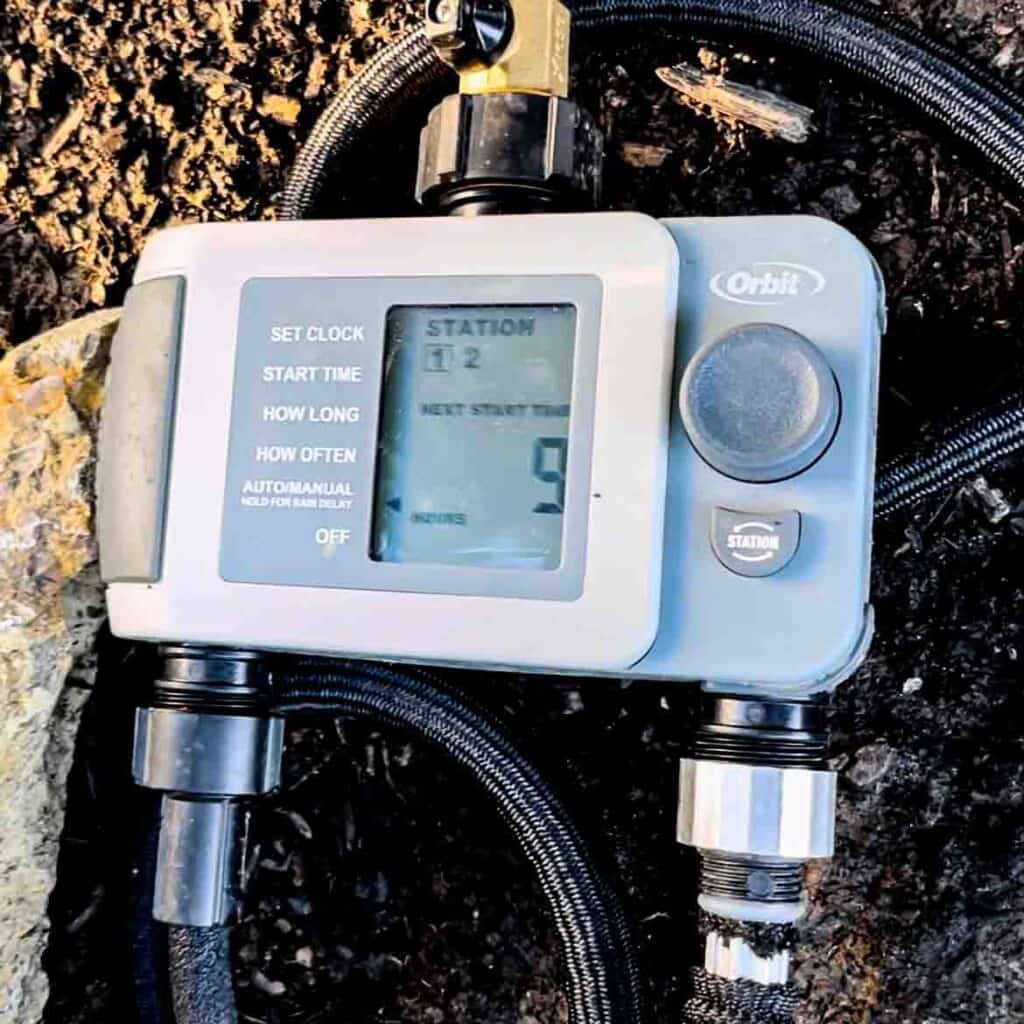
The key to gardening bliss is when you set up a timer for a truly hands-free watering experience. Our timer is set up to water the beds every other day (50 minutes is around 1/4 inch of watering). We exposed the hose above ground for about a week to ensure the timer and hoses were all working properly. Once all systems were running smoothly, we buried the hose under a light coat of topsoil and secured them using ground staples. Then, we mulched overtop.
Here are the steps:
- Prep the Hose: Soften the hose by laying it in the warm sun. Untwist so it lays flat and is easier to work with
- Initial Layout: Begin laying hose near roots of existing shrubs or flowers.
- Lightly Secure: Use garden staples to secure the hose so it doesn’t move with you, these can be relocated later.
- Uphill vs. Downhill: When choosing a location, always place the soaker hose on the uphill or high side of slope so the water can naturally drip downhill and into the root system.
- Permanent Placement: Once you have your configuration in place, use a trowel to dig a shallow trench & place the hose in the trench. Re-secure the garden staples.
- Set Your Timer: Set it to run every other day for 50 minutes.
- Test: Let the hose run for a few days to ensure it is running on time and all plants are receiving water.
- Mulch: Once all systems are a “go” – mulch and enjoy!
Shop Our Cottage Garden Products
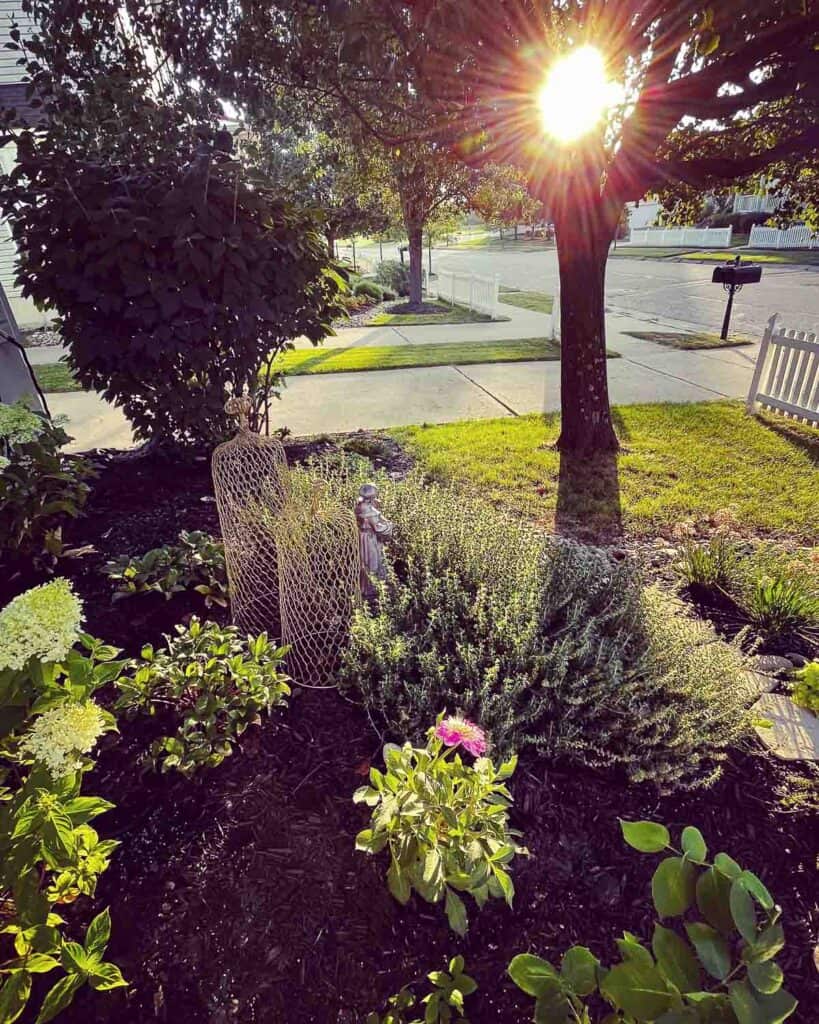
It feels so good knowing our plants won’t be neglected and we can continue adding more color and beauty to our #cottagegarden without worry.
Next, I’ll share our third-year journey with cottage gardening. I’ve added gardening to my list of favorite “workouts” and I’ve become a bit addicted! It’s hard work, but so worth it!

