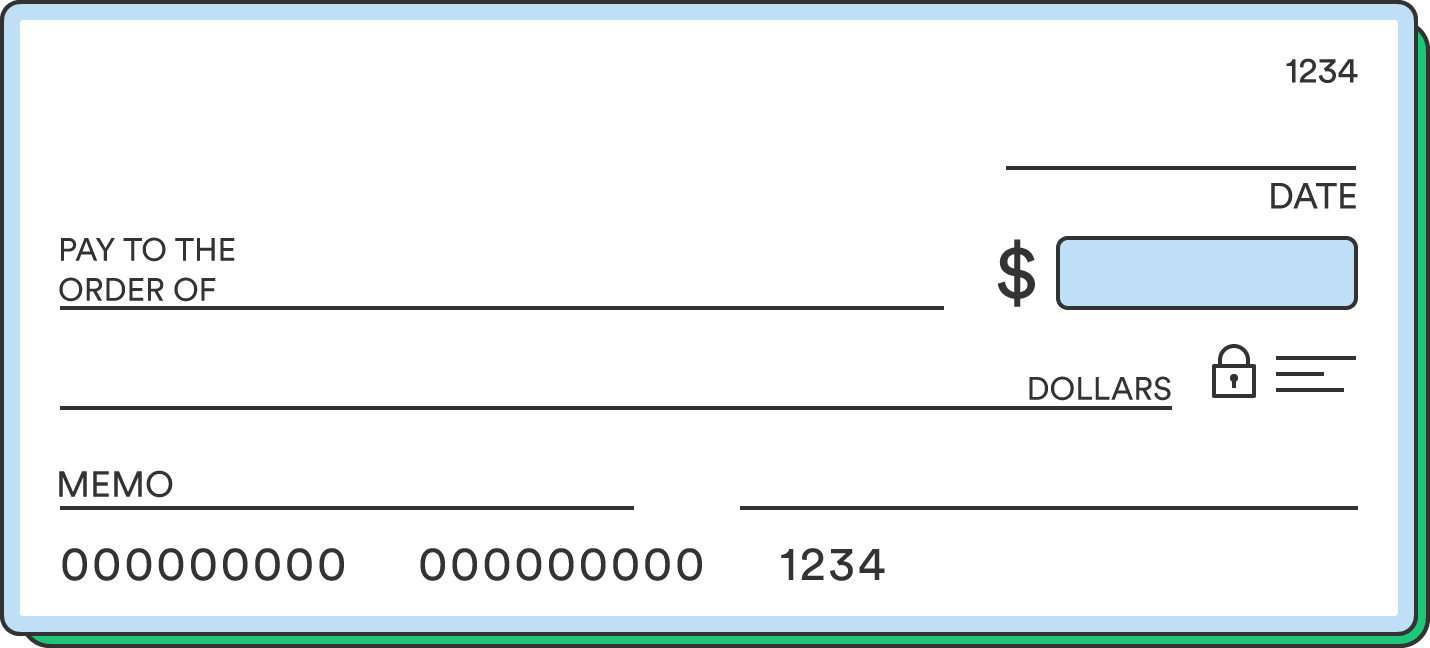
Now that you’re prepared, it’s time to get down to business and write your check. Fill in the check accurately and completely so it goes through as expected.
The person writing the check should only write on the front side of the check. The recipient should endorse the check on the back. Learn how to endorse a check for mobile deposit.

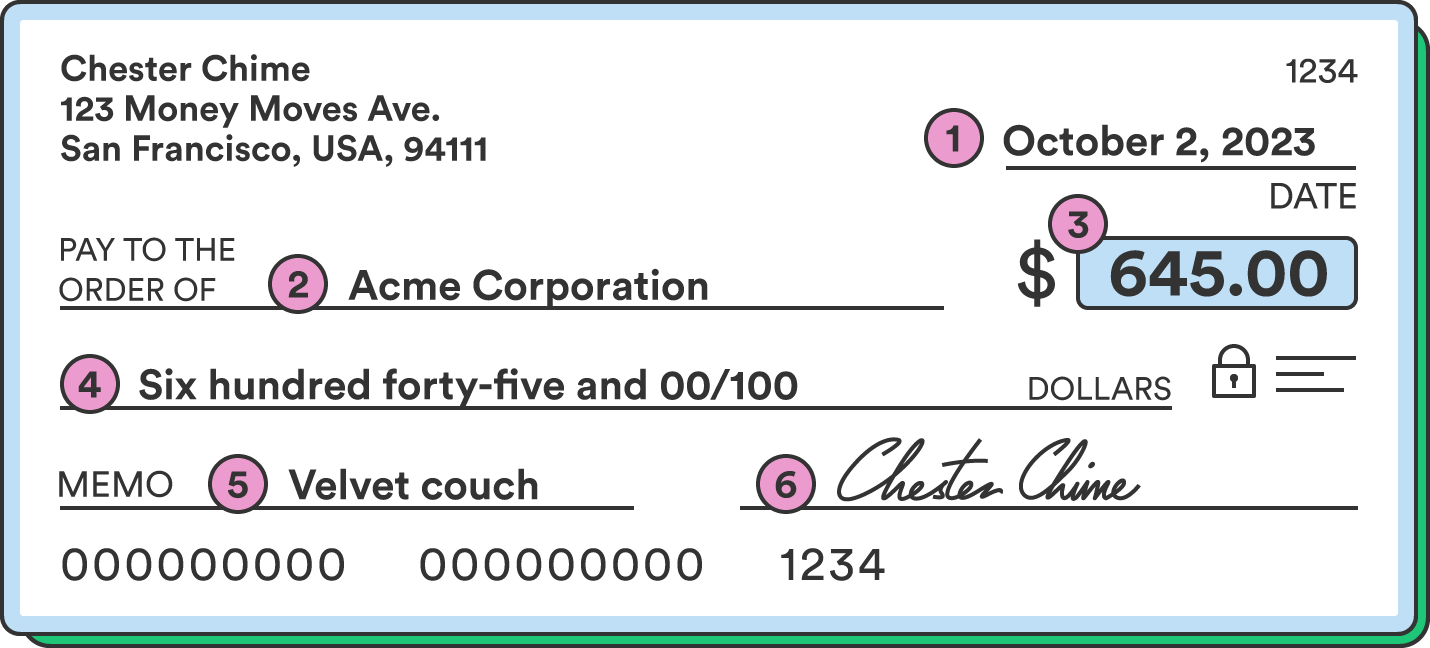
1. Date of the transaction
The date is the first blank space to fill in, typically at the top right of a check near the check number. Write the current month, day, and year. Leaving the date blank or writing the wrong date could cause problems when it’s deposited. An example of a properly formatted date for a check would be January 1, 2023, or 1/1/2023. Don’t omit the “20” at the start of the year.
2. Recipient’s name (payee)
Following the text “pay to the order of,” write the name of the person or company you’re paying. The recipient’s name must match the bank account where it’s deposited. Be sure to spell the name correctly so the payee can easily make a deposit.
You can write “cash” in this spot if you don’t know their exact name, but doing so puts you at risk if the check is lost or stolen.
3. Numerical representation of the payment amount
The payment amount is written in two ways. First, next to the payee’s name is the numerical amount. For example, a check for an even one hundred dollars would be written as $100.00. This should be clearly written and include a decimal and the number of cents, even if it’s for a round dollar amount.
4. Written representation of the payment amount
Below the payee’s name, you’ll write the check amount again but spelled out in words rather than numbers. The written amount should match the numerical amount above. When writing a check for 100 dollars, you would write out the number “one hundred.” As for how to write a check with cents, write the number of cents as a fraction over 100. For example, a check for 100 dollars and 75 cents would be written as “one hundred and 75/100.” You don’t need to include the word dollars, as it’s already at the end of the line.
5. The memo line (optional)
While not used by the bank for processing, you can fill in a note regarding what the check is for on the memo line. Some companies ask you to write an account number on the memo line so they know where to credit the payment. You could also put something like “Groceries” or “Registration fee” to remind yourself what the check was for in the future.
6. Your personal signature
Finally, once everything else is filled in accurately, here’s a look at how to sign a check. While it’s tempting to pay little attention here, try to write your name legibly and consistently. Depending on the circumstances, the bank may compare your signature with past checks or forms to ensure you truly signed it.
Writing a check example
To help you know if you’re completing your check correctly, here’s an example of what a completed check should look like:

Once you complete your check, you can deposit it through a mobile banking app or at your local branch if offered by your financial institution.
Create a record with the essential information from your check
Once you’ve completed your check, it’s time to record it in your check register or your preferred method of tracking checks. Good record-keeping helps you avoid overdrafting your account and forgetting who you paid. Detailed records can be invaluable if you find an error or inconsistency in the future.


